Note: Need to create the same rules for inbound and outbound
Step 1: Steps to Manually Add QuickBooks Firewall Ports Exceptions
Follow the below given steps for each QuickBooks version:
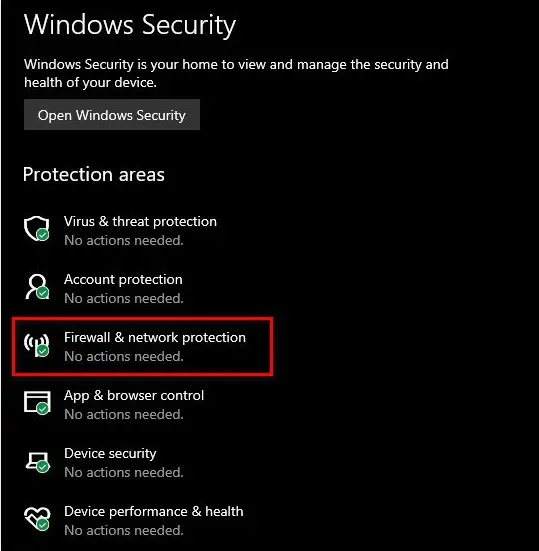
- In order to add firewall port exceptions for QuickBooks, the initial step is to open Windows Start menu.
- Type in Windows Firewall into the search option, followed by opening Windows Firewall.
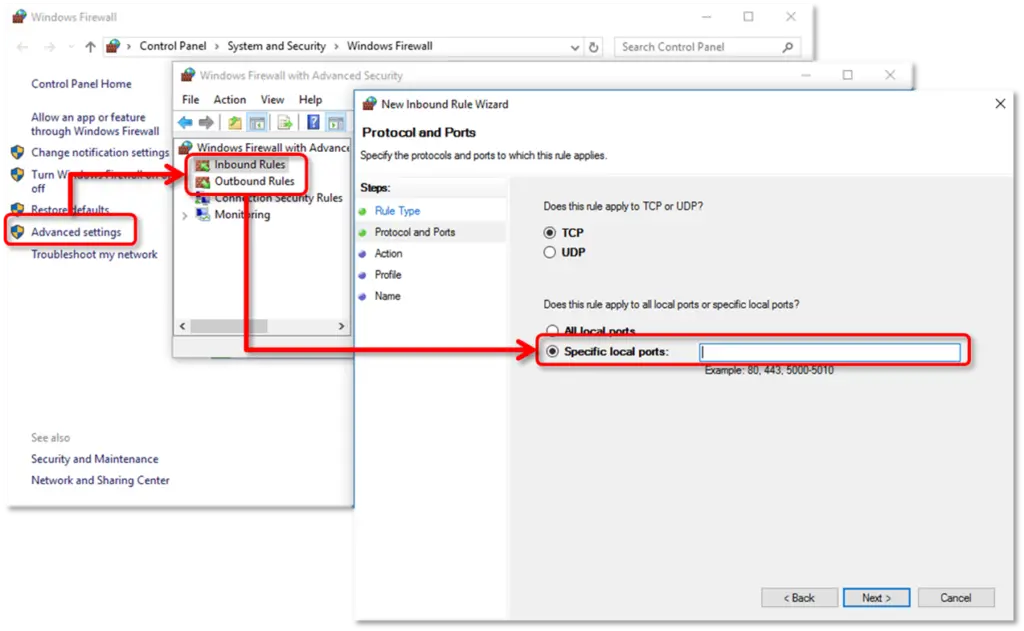
- Next step is to hit a click on Advanced Settings.
- Right click on Inbound Rules, along with that, select New Rule.
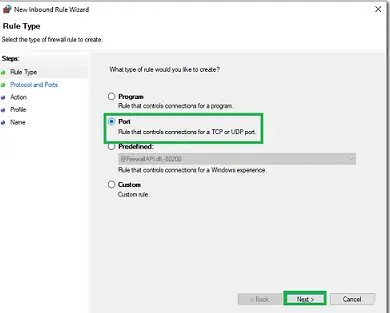
- Choose Port and then hit Next.
- Make sure that TCP is selected.

- Now enter the ports which you need for your QuickBooks year versions, in the Specific ports field.
- The ports can be selected from below options:
- QuickBooks Desktop 2022:8019, 55368-55382
- QuickBooks Desktop 2021:8019, 55368-55382
- QuickBooks Desktop 2020:8019, 55368-55382
- QuickBooks Desktop 2019: 8019, 55368-55382
- QuickBooks Desktop 2018: 8019, 56278, 55378-55382
- QuickBooks Desktop 2017: 8019, 56727, 55373-55377
- QuickBooks Desktop 2016: 8019, 56726, 55368-55372
- You will then have to Enter the port number and hit Next tab.
- Once done with that, hit a click on Allow the Connection and then, click on Next.

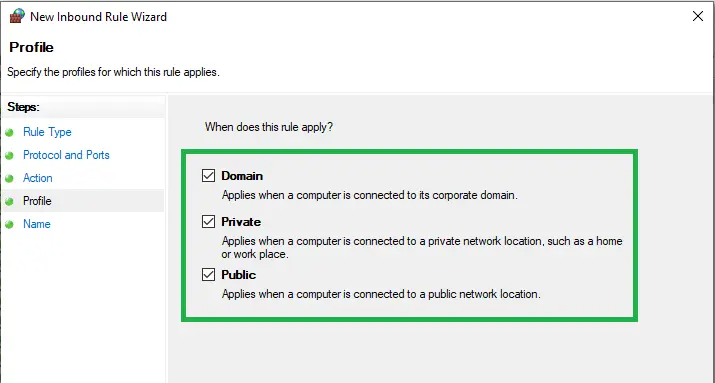
- Moving ahead, you need to ensure all the files are marked, only if prompted.
- Name the rules and click on Finish to end the process.
You will have to repeat these steps for Outbound Rules. The same steps are to be carried out, only instead of select inbound rules, select outbound rules, and you are good to go.
Was this article helpful?
That’s Great!
Thank you for your feedback
Sorry! We couldn't be helpful
Thank you for your feedback
Feedback sent
We appreciate your effort and will try to fix the article